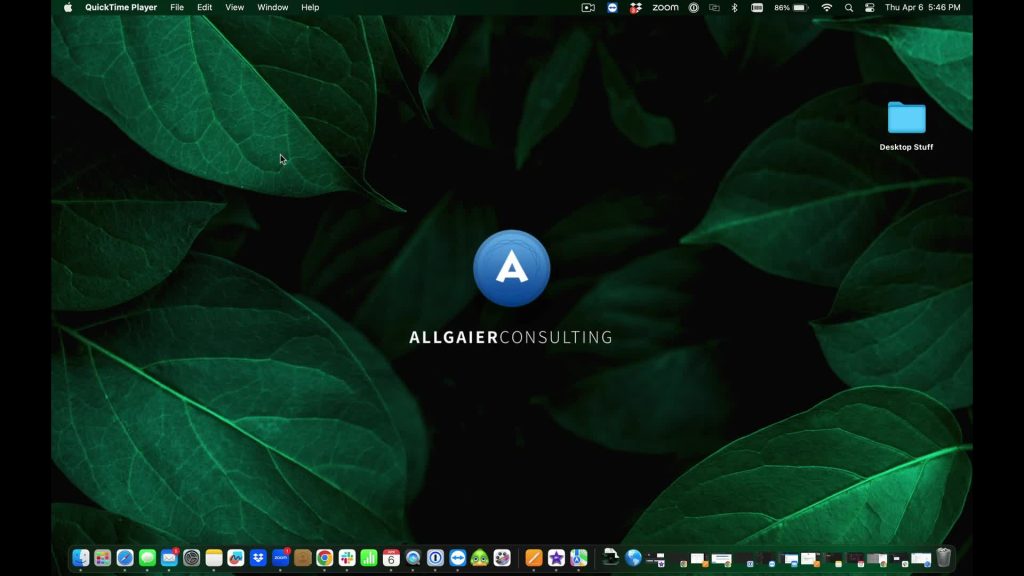
In today’s digital age, taking screenshots and screen recordings has become an integral part of our daily lives. Whether it’s for work, school, or personal use, the ability to capture what’s on our computer screens can be incredibly helpful. If you’re a Mac user, you may be wondering about the various methods available for capturing your screen. From keyboard shortcuts to specialized apps, there are several ways to take screenshots and record your screen on macOS. Whether you’re a seasoned Mac user or just getting started, you’ll find valuable information and tips to help you effectively capture and share your screen content.
To quickly take a screenshot at any time on your mac, press command, shift, 4, then click and drag your mouse over the area you would like to capture. This will save a screenshot of the selected area to your desktop.
Another great built in feature of MacOS is screen recording! Whether you want to show off a project you’ve been working on, make a video tutorial, or even just save a video clip for later, it’s quick and easy to do without needing any extra software, and it can definitely come in handy!
All you need to do to take a screen recording on your mac is open QuickTimePlayer, which will already be on your mac. Once you have it open, click where it says “file” along the top left of your screen, then select “new screen recording”. This will open a window and gray out everything outside of that window, whatever is inside that window is what will be recorded. You can move and resize this window by clicking and dragging the edges to either record part of or your whole screen. To start a recording, just click “record” towards the bottom left. To stop recording, click the stop icon along the top of your screen towards the right. You can also edit any of these screen recordings in iMovie! While it doesn’t come built into your mac, it’s available totally free from the app store and is another great tool.
If you find yourself taking lots screen recordings, you may be interested in some more in depth software for taking screen recordings. While the built in tool is handy, there is another program called Screenflow 10 that has even better functionality for recording your screen. It not only allows you to record your screen, but has options for recording your microphone and audio from your computer. It also allows you to dimm windows in the background, add text on screen, or circle different parts of your screen.
It also automatically takes you to a built-in video editor after finishing your recording. It is very intuitive and easy to use, but provides a lot more options if screen recording is a bigger part of your workflow. We would love to hear how you’ve used these tools!


