

I have noticed that more and more people are posting videos on their social media accounts... Instagram, Twitter, Facebook, etc. This is great for everyone following you because it gives them a chance to keep up on your family and business activities. In some cases, these videos include audio alongside the video in the form of voice-over, edited music tracks or even sound effects. In most cases, these were likely added to the video using a video-editing application like iMovie or Final Cut Pro.
GarageBand is a fantastic audio-editing application that can help to easily add these audio artifacts to your video projects. In this post, we will explore how to sample various audio effects, apply those affect to an audio track, then add that audio track to a video for posting to your social media account.
Let's get started!
If you don't have GarageBand already, you can download it here from the Mac App Store for a mere $4.99 US. Over the last month or so, I have spent at least 1 - 2 hours/day in GarageBand as I have been working on a project that requires voice-over. It's a great tool to have in your library!
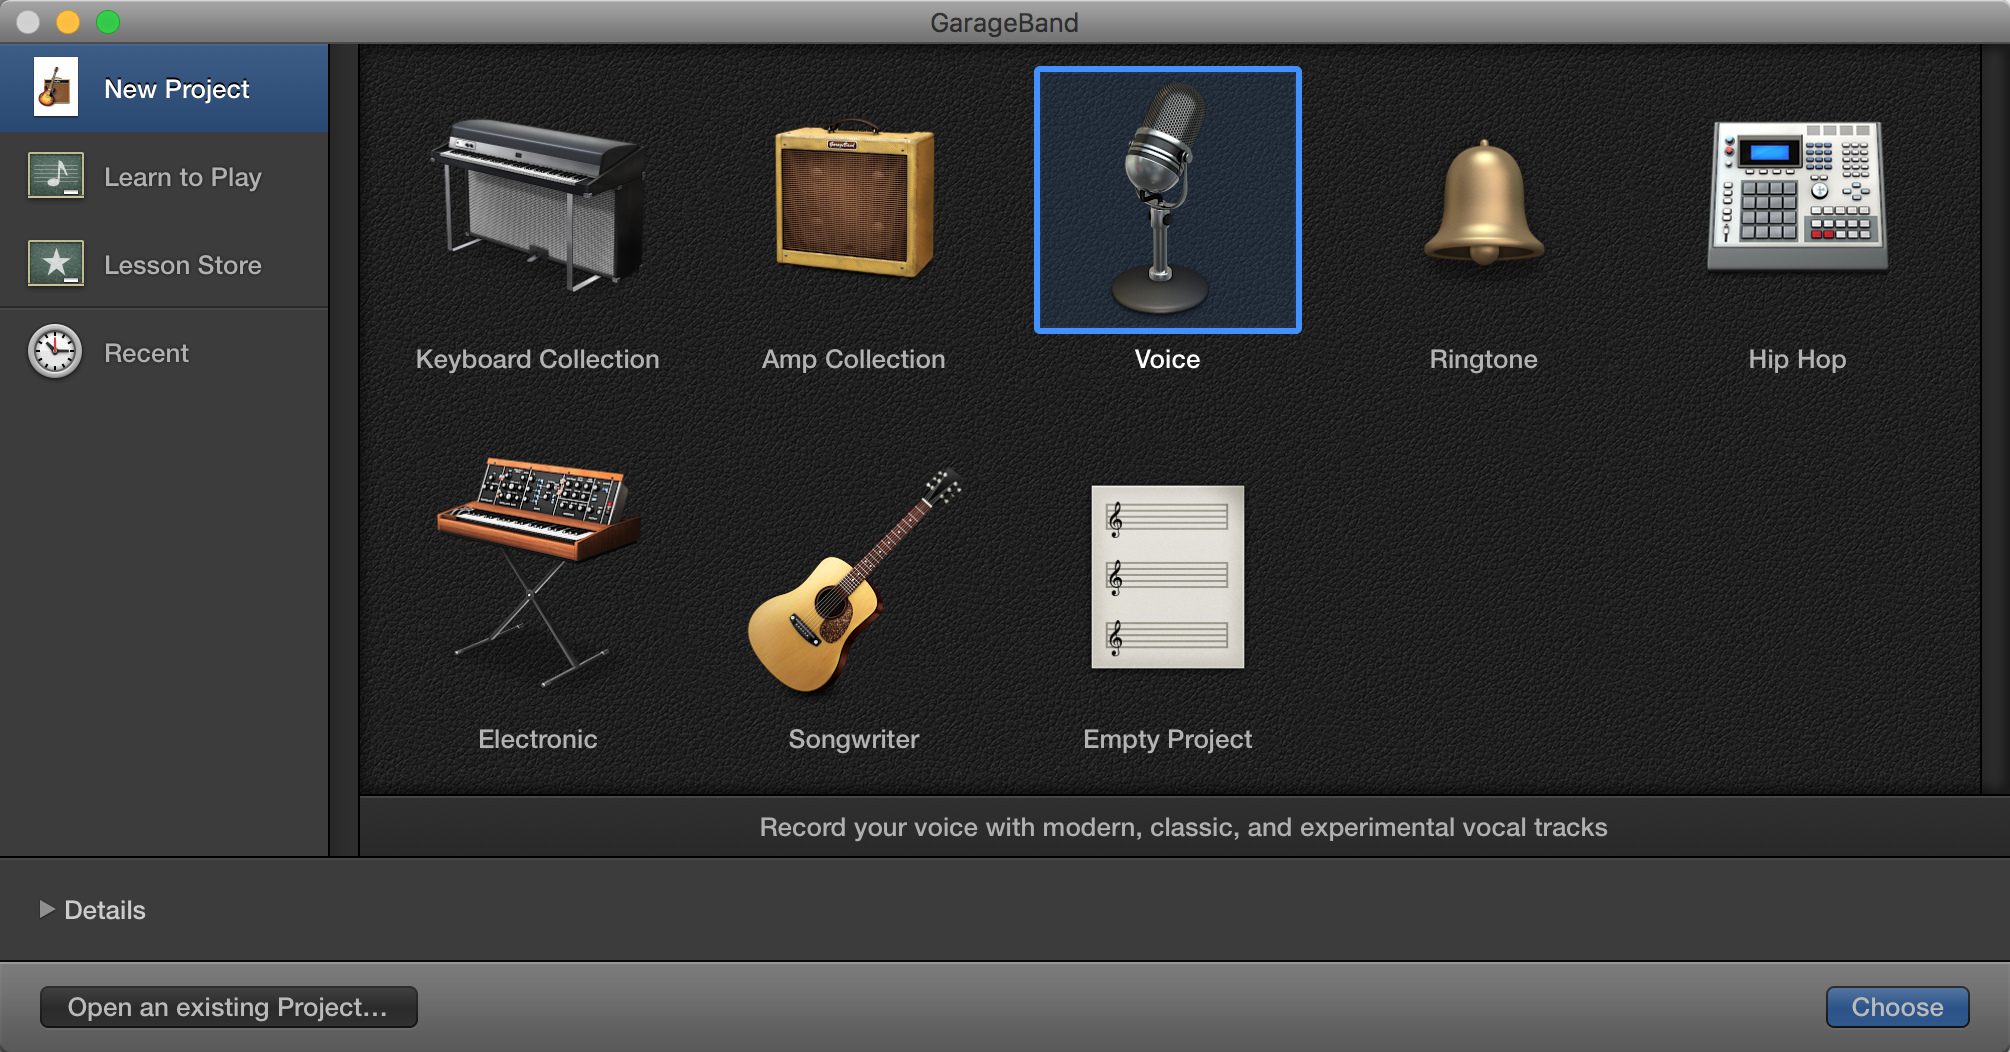
Now that we have GarageBand, let's open it. When we open GarageBand, we are prompted to either open and existing file, or to create a new file. In this example, we will create a new file. If you aren't sure which project type to choose (by the way, you can use GarageBand for MANY, MANY types of audio projects and even use it to learn how to play a new instrument!), it's always a safe bet to start with a "Voice" project.
Now that we have our new project open, let's begin recording by pressing the red "Record" button on the left side of our toolbar.

When we are done recording, we can press the "Record" button again to stop recording. To preview what we just recorded, we can move the playhead back to the beginning of our recording and press the "Play" button, located next to the "Record" button.
Note: the input source (microphone) and output (speakers) will be what the system also uses. If you have an external microphone or speakers that you would prefer to use instead, you can choose that equipment by going to GarageBand > Preferences... then click the "Audio/MIDI" tab. When I record audio, I choose to use my Blue Yeti Pro microphone.
Now that we have our first recording, let's add an effect. We can browse our available effects by looking to our Effects Library on the left side of GarageBand.

If we don't see the Library open here, we can click the Library button on the toolbar. This will toggle the Library open and closed at any time (this is also useful when editing your tracks... by closing the Library, it will give you more room to work).

Next, let's browse for the "Helium" effect. You can do this by going to Voice > Experimental > Helium. To apply this effect to our track, we simply select the effect. Now that the effect has been applied to your track, let's preview again by pressing "Play". Notice anything different?
As you can see from the GarageBand interface, we can add more than one track. To add another track, simply select that track and start recording. The new recording will be applied to that new track. We can also apply an effect to that track as well by going through the same process as we did for the first track.
When you're done creating your new audio file, let's export the new file so that we can use that for our video. to do this, we go to Share > Export Song to Disk... where we can give our new file a name and save location.

We'll have a few options to choose from here, but the end result will be a new audio file that we can now add to a video by dragging and dropping into your iMovie or Final Cut Pro video project. From there, we simply export as a video file (which will also include our audio file), and then post to your favorite social media network!
Bonus Tip!
For those looking for a little more family fun (kids really eat this one up!), here's one more bonus tip for you.
Try clicking/enabling the "Input Monitoring" button on a track:

This will enable your real-tie audio to be circled back to you via your speakers or headphones. In other words, as you speak into the microphone, you will hear yourself through your speakers or headphones (depending on what you have set as your output option in GarageBand > Preferences...).
With this feature enabled, try adding an effect to that audio track. When your 6-year-old speaks normally, they will hear themselves in a Helium voice (or whichever effect you have selected). I guarantee this will create some very fun, very lasting, family memories!


